

Views: 0 Author: Site Editor Publish Time: 2025-12-04 Origin: Site


Sterilization is one of the most critical processes in orthopedic surgery, ensuring that every medical bone drill used during procedures meets clinical hygiene standards and prevents surgical site infections. As surgical instruments become more advanced, the sterilization workflow also evolves to match higher performance requirements. Understanding the best practices for sterilizing a medical bone drill helps hospitals, surgical centers, and technicians maintain instrument longevity while protecting patient safety.
This article provides a comprehensive guide on proper sterilization methods, standard procedures, common mistakes, and professional recommendations for maintaining bone drill performance.

Sterilizing a medical bone drill is not simply a routine step—it is a vital infection-control measure that directly affects surgical outcomes. Orthopedic procedures involve direct contact with internal tissues and bones; a contaminated drill can introduce bacteria deep into the surgical site, leading to serious complications such as osteomyelitis, delayed healing, and even implant failure.
A medical bone drill often comes into contact with bone fragments, blood, and bodily fluids. Failure to remove biological material before sterilization reduces the sterilization’s effectiveness and promotes microbial growth.
Residues left inside the drill housing or chuck can accelerate corrosion or cause mechanical malfunction. Routine cleaning and correct sterilization prolong the lifespan of the device.
Regulatory bodies—including ISO, CE, FDA, and hospital infection-control committees—require strict adherence to validated sterilization procedures.
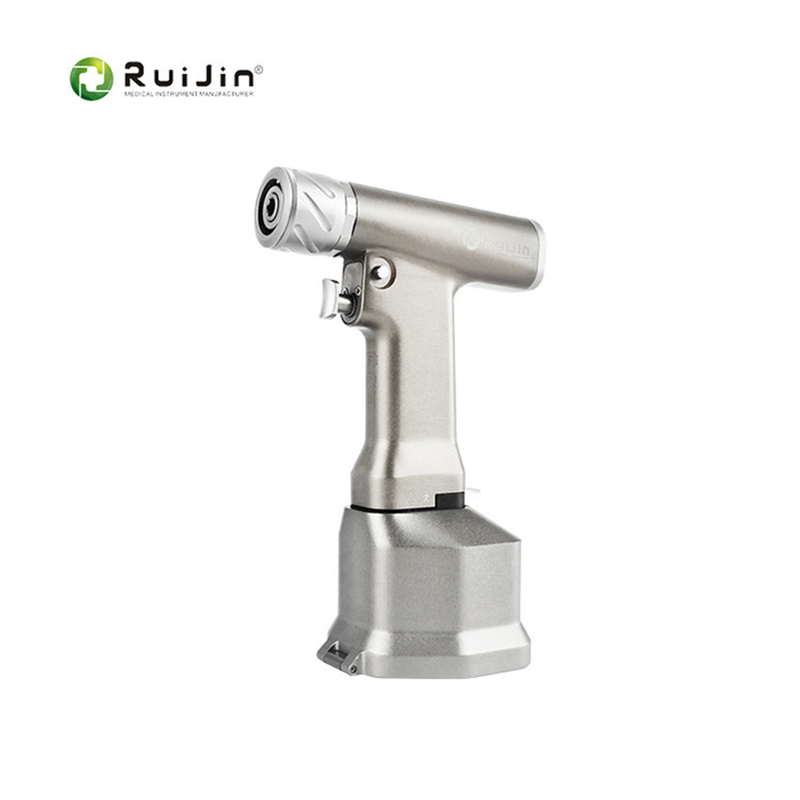
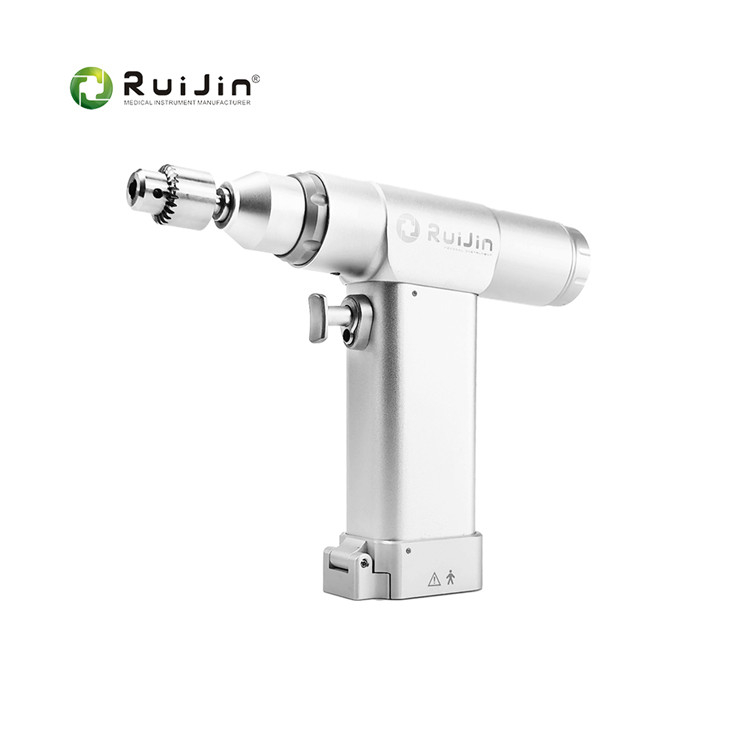
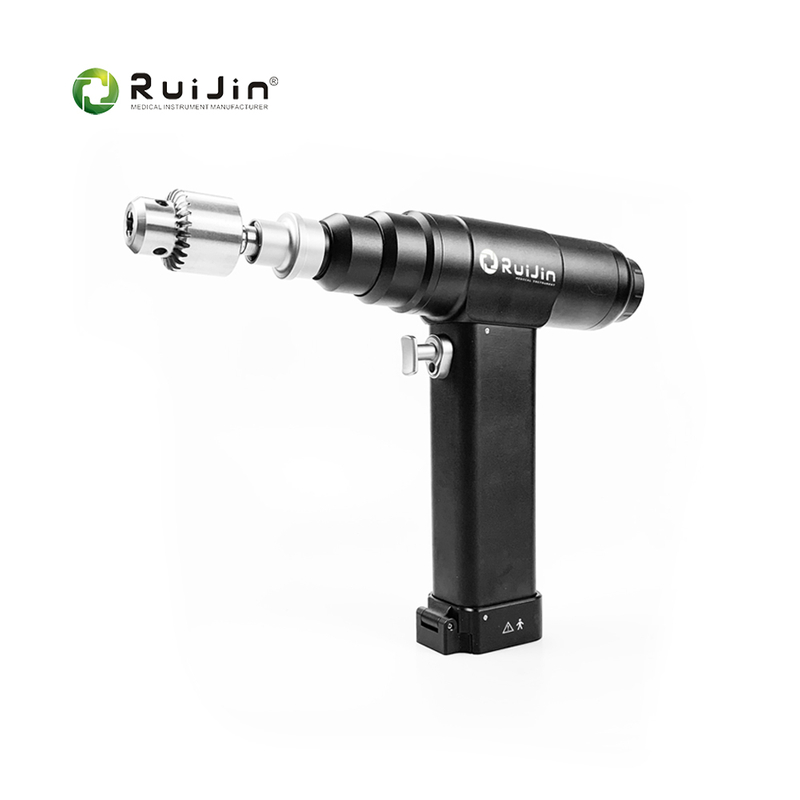
A medical bone drill is a high-precision surgical instrument. Its rotating components and internal structure require specialized handling before sterilization.
Stainless steel is compatible with high-temperature steam
Aluminum housings may require mild cycles
Internal electronics in electric bone drills must be protected from heat
Electric drills: handpiece only; batteries not autoclaved
Pneumatic drills: fully autoclavable with lubrication
Wireless drills: special protective covers may be required
OEM temperature limits must always be followed to avoid damage.
Cleaning removes contaminants; sterilization kills microorganisms. Sterilization is ineffective without proper cleaning.
Manual cleaning with enzymatic solution
Ultrasonic cleaning for microscopic debris
Complete drying before sterilization
Autoclaving uses high temperature and pressure to sterilize surgical tools.
Typical Autoclave Settings:
121°C–135°C
20–30 psi
15–30 minutes
20–30 minutes drying
Advantages: fast, effective, widely used
Disadvantages: heat/moisture may affect sensitive components
A gentle, moisture-free method suitable for heat-sensitive components.
Features:
Temperature 40°C–55°C
Uses hydrogen peroxide vapor
Short cycle times
A low-temperature method ideal for complex instruments or electronics.
Drawbacks:
Long aeration period (8–24 hours)
Higher cost
Strict safety procedures required
Remove bits, blades, shafts, chucks, and batteries.
Rinse with warm water
Apply enzymatic cleaner
Scrub gently
Use brushes for cannulated components
Remove all detergent residue.
Use lint-free wipes or compressed medical air.
Only with approved medical-grade lubricants.
Use sterilization pouches or rigid cases.
Keep joints open for steam penetration.
Follow OEM-recommended temperature and pressure settings.
Drill must return to room temperature before use.
Batteries must never be placed in an autoclave.
Uncleaned debris prevents full sterilization.
Improper oils can carbonize or damage mechanical parts.
Steam cannot circulate in tight packaging.
Cooling is essential to avoid condensation-related issues.
A medical bone drill must be fully cleaned and sterilized after every surgical procedure, even if used briefly or not used at all after opening.
Strict compliance ensures longevity.
Useful for audits and safety inspections.
Regular internal inspection prevents wear.
Dull or bent bits compromise performance.
Ensures mechanical compatibility and safety.
Sterilizing a medical bone drill requires careful cleaning, proper disassembly, validated sterilization cycles, and safe storage procedures. Correct sterilization ensures superior precision, reduces mechanical wear, and enhances patient safety.
At Wuhu Ruijin Medical Instrument & Device Co., Ltd., we specialize in advanced orthopedic surgical power tools engineered for durability, smooth operability, and safe sterilization. With more than 13 years of R&D experience, automated production facilities, and a global distribution network covering over 100 countries, we are committed to delivering reliable and high-performance solutions for orthopedic surgeons worldwide.
1. Can all medical bone drills be autoclaved?
Most pneumatic drills can be autoclaved, but electric components may require low-temperature sterilization.
2. How long is a typical steam sterilization cycle?
About 15–30 minutes, plus 20–30 minutes of drying.
3. Are batteries allowed in autoclaves?
No. Batteries cannot withstand autoclave temperatures.
4. Do all drills need lubrication before sterilization?
Only air-powered models typically require lubrication.
5. What happens if debris is not removed before sterilization?
It prevents full steam penetration and creates infection risks.


